

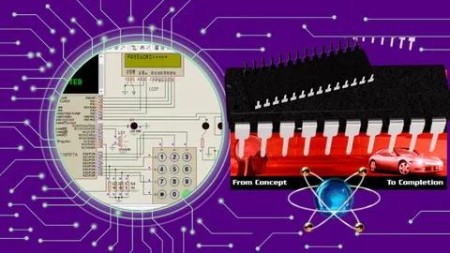
8051 Microcontroller Led Movable Display With Assembly Lang.
Published 3/2025
MP4 | Video: h264, 1920×1080 | Audio: AAC, 44.1 KHz
Build and Simulate a 48×8 LED Movable Display Using 8051 Microcontroller and Assembly Language Programming from scratch.
What you’ll learn
Sourcing Components & Setting Up Your 48×8 LED Matrix Display
Understand the fundamentals of the 8051 microcontroller and how it drives an LED display with assembly language code
Organize and save your work systematically within MIDE-8051 and Proteus environments.
Learn how to select and assemble components like NOT gates, 74154 decoders, and the LED matrix display.
Master circuit configurations by integrating NOT gates with decoders for smooth data flow and control.
Connect the microcontroller to the matrix display and decoders, enabling precise control of LED columns and rows.
Requirements
Basic understanding of electronics (helpful but not required)
A PC with MIDE-8051 and Proteus (installation steps included in the course)
Passion for learning hardware and assembly language programming!
Description
Overview
Section 1: Hardware Development of LED Matrix Display on Proteus using 8051 Microcontroller
Lecture 1 Required project Task
Lecture 2 How To Save Our Project
Lecture 3 How To Source For Components
Lecture 4 How To Set Up 48×8 Matrix LED Display screen
Lecture 5 How To Connect Not Gates To Matrix Led Display
Lecture 6 How To Connect 74154 Decoders To Not Gates
Lecture 7 How To Cascade 74154 Decoders
Lecture 8 How To Connect Microcontroller To The Decoders
Lecture 9 How To Enable The Decoders With Not Gates
Lecture 10 How To Interconnect The Matrix Led Displays
Lecture 11 How To Connect Our Microcontroller To Matrix Led Display
Lecture 12 Review Of Our Project Circuitry
Lecture 13 How To Add A Buffer To The Circuitry
Section 2: Installation of MIDE IDE for 8051 Programming in Assembly Language
Lecture 14 Installation Of MIDE-8051
Lecture 15 How To Save Our New Project In MIDE-8051
Lecture 16 Program Initialization And Creating Subroutines
Section 3: Character Encoding for LED Text Display in Microcontroller Memory
Lecture 19 How To Display Characters On The Screen
Lecture 20 How To Store Characters Inside Microcontrollers And Display Them On The Screen
Section 4: Assembly Language Development for 8051 Microcontroller LED Text Display
Lecture 24 Displaying Characters On The Screen
Lecture 25 Displaying Effects On The Screen
Lecture 26 How Create A Delay Time For Characters
Lecture 27 How To Clear And Repeat Program
Lecture 28 How To Shift Our Characters On The Screen
Lecture 29 How To Scroll Characters On The Screen
Lecture 32 How To Make Characters On The Screen Readable By Our Viewers
Lecture 33 Storing All The Characters We Created Into The Microcontroller Memory
Section 5: How to Create Animations for LED Text Display in 8051 Microcontroller
Lecture 34 How To Create Welcome Animation On The Screen
Lecture 35 How To Create Hello Animation On The Screen
Lecture 36 How To Create Merry Animation On The Screen
Lecture 37 How To Blink Animation On The Screen
Lecture 38 How To Display 2017 Animation On The Screen
Lecture 39 How To Create Thanks Animation On The Screen
Section 6: Code Review and Project Simulation
Lecture 40 Reviewing Our Code
Lecture 41 Complete Simulation Of Our Project
Section 7: Project Simulation in Proteus 6 – Perfect for Simulation of LED Text Display
Lecture 42 Important Notes Before Proteus 6 Installation
Lecture 43 Running Your Project On Proteus 6
Engineering students and hobbyists interested in microcontroller-based LED display projects,Embedded systems enthusiasts looking to learn assembly language programming,Anyone wanting to design and simulate real-world LED matrix displays for signs, banners, or educational purposes

TurboBit
https://www.keeplinks.org/p27/67de3cdc14f3b
RapidGator
https://www.keeplinks.org/p27/67de3dc0658b2
FileFactory