

Go Java Full Stack With Spring Boot And Angular
Last updated 12/2022
MP4 | Video: h264, 1280×720 | Audio: AAC, 44.1 KHz
Become a Full Stack Java Developer. Build Your First Java Full Stack Application with Angular and Spring Boot.
What you’ll learn
You will Develop Your First FULL STACK Application with Angular and Spring Boot
You will learn the Basics of Building AWESOME Frontend Applications with Angular
You will be introduced to Building Great RESTful APIs with Spring Boot
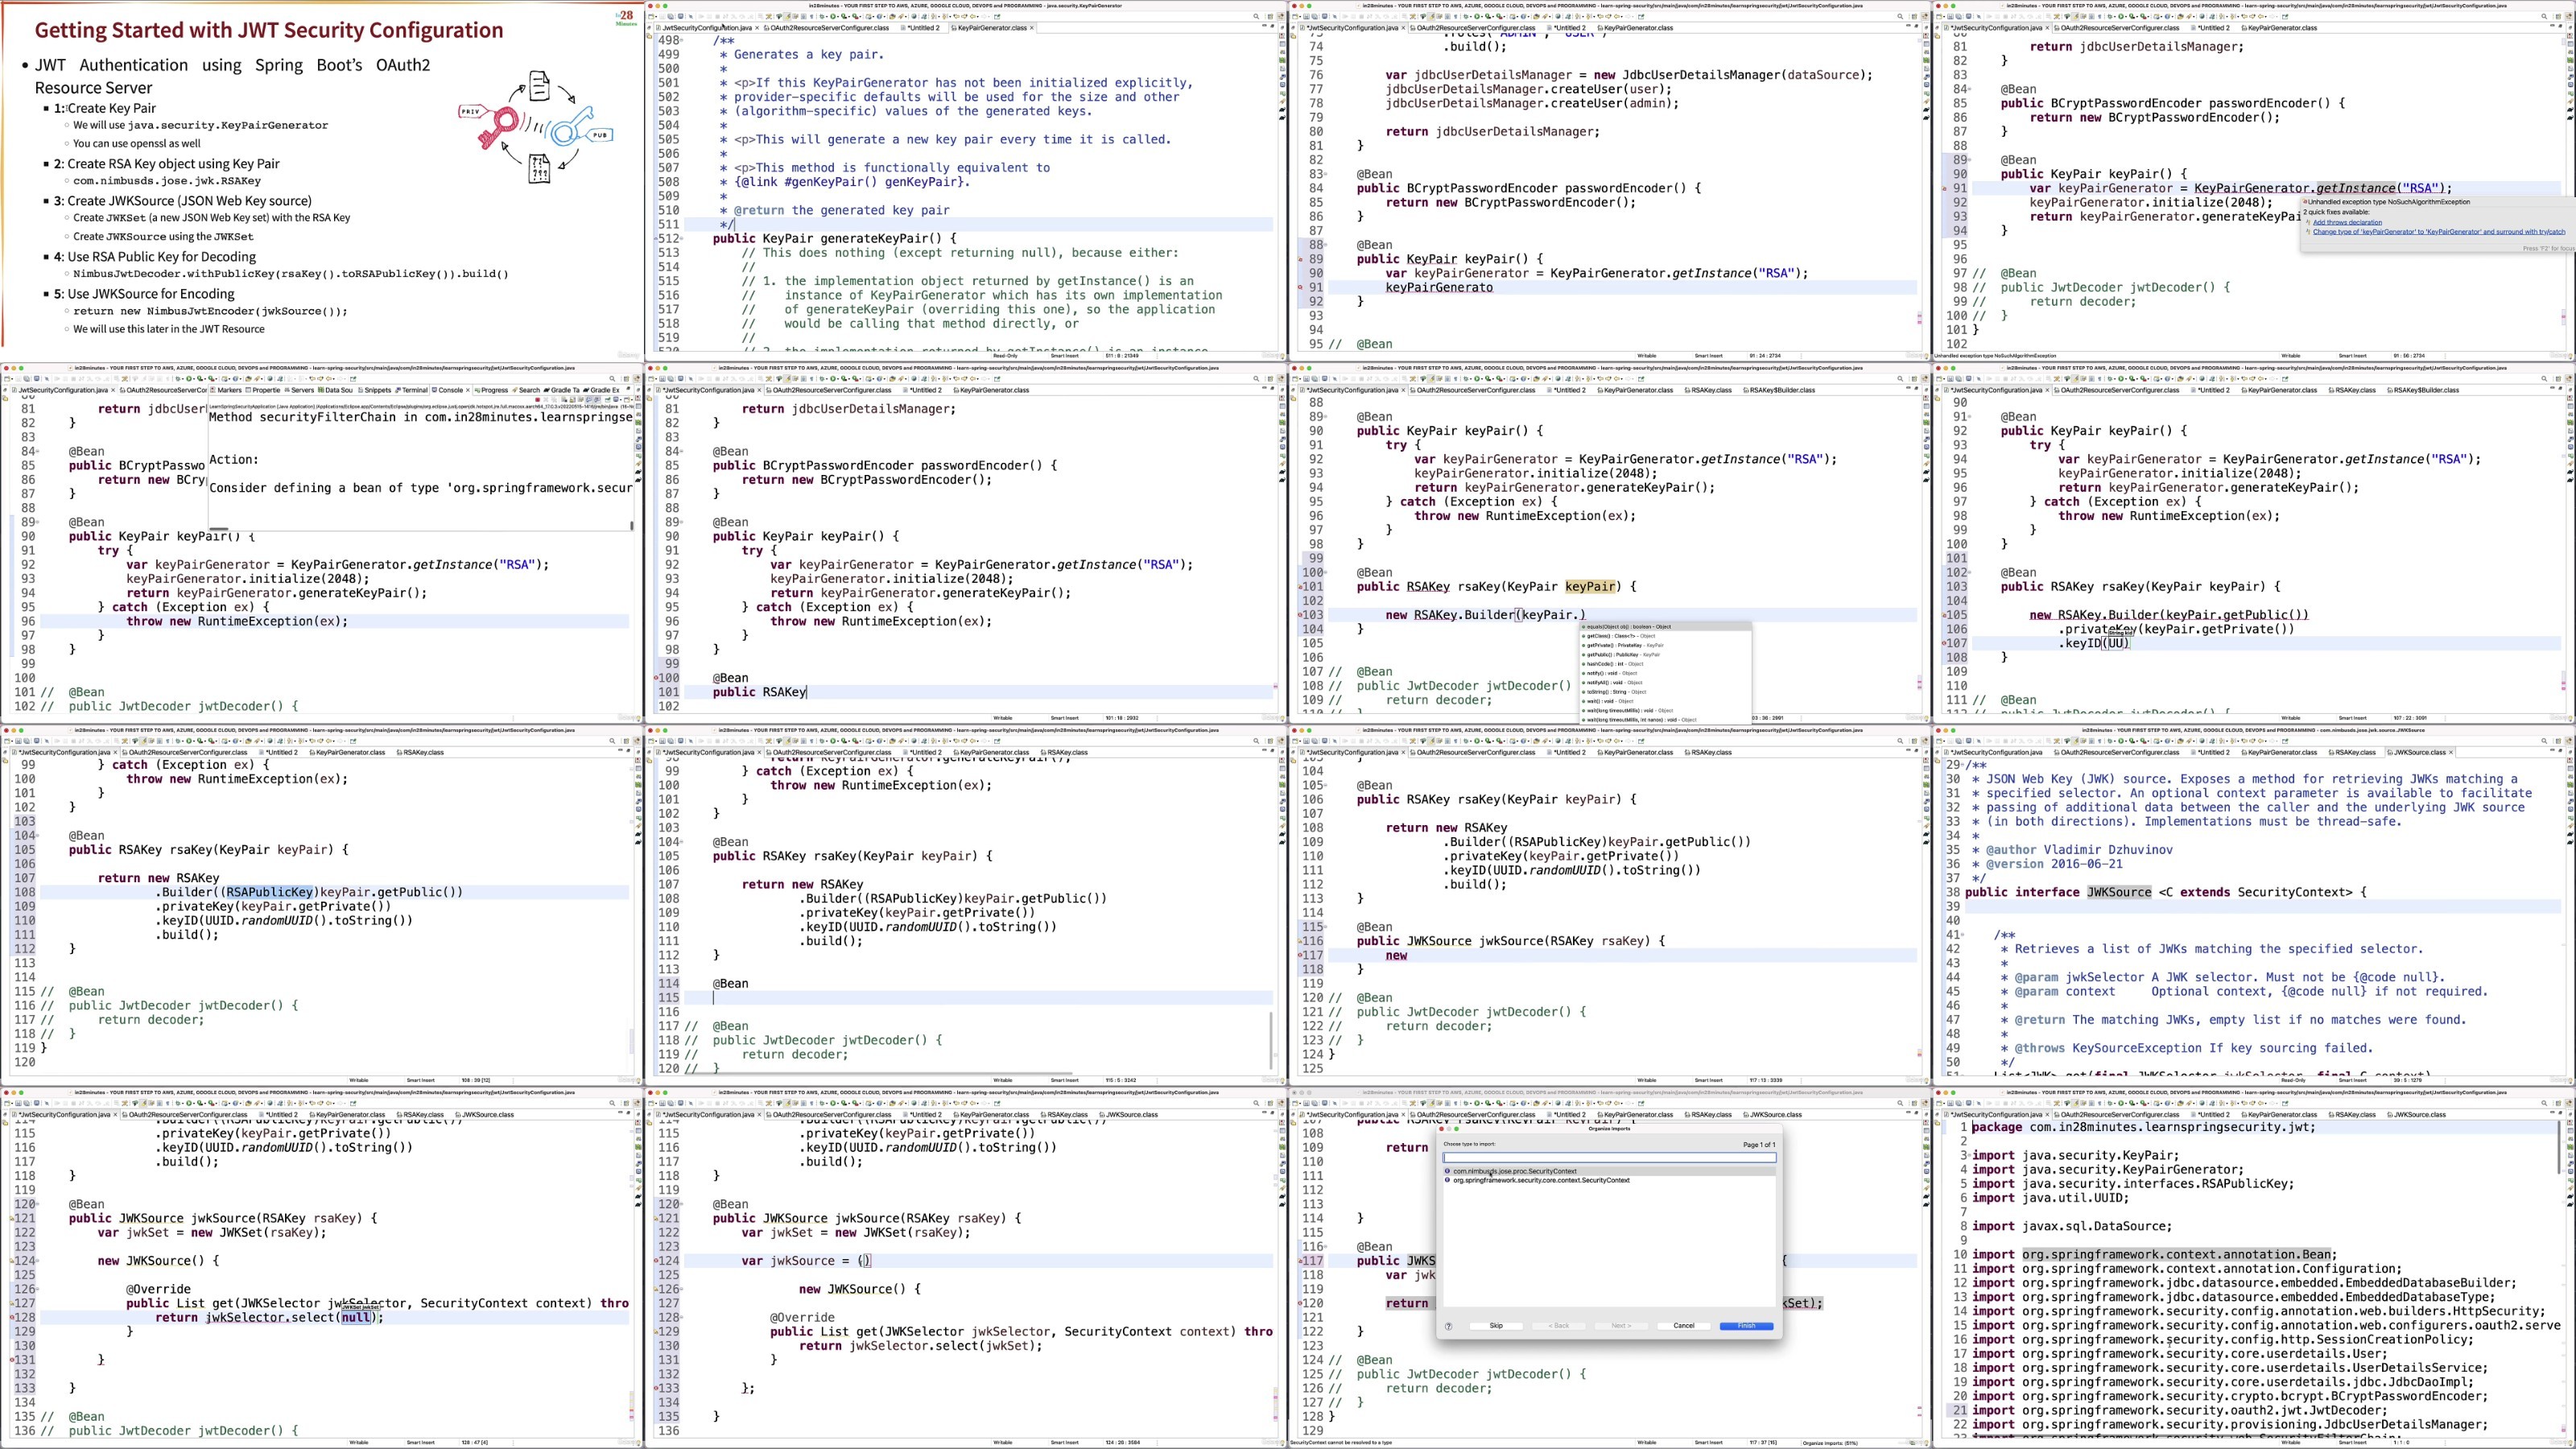
You will Learn to use Spring Security to configure Basic Authentication and JWT
You will learn to Solve the Challenges of Connecting an Angular Frontend to a RESTful API
You will learn the basics of Angular – Angular Modules, Components, Data Binding and Routing
You will learn to connect REST API to JPA/Hibernate with Spring Boot
You will understand the best practices in designing RESTful web services
You will develop a Todo Management Full Stack Application step by step with login and logout functionalities
You will understand how to make best use of Spring Boot Actuator and Spring Boot Developer Tools
You will learn to secure RESTful API with Spring Boot and Spring Security
Requirements
You have an attitude to learn while having fun 🙂
You have some programming experience with JavaScript, Java and Spring.
We will help you learn the basics of Modern JavaScript, TypeScript, Spring Boot and JPA
We will help you install Chrome, Eclipse, Visual Studio Code and Node JS (for npm)
Description
Overview
Section 1: Introduction
Lecture 1 Introduction
Section 2: Quick Overview of Modern JavaScript, TypeScript and Angular
Lecture 3 Step 01 – Understanding Full Stack Application Architecture
Lecture 4 Step 02 – Quick Overview of Modern JavaScript and TypeScript
Lecture 5 Step 03 – Installing Angular CLI – Awesome Tool to create Angular Projects
Lecture 6 Step 04 – Creating and Launching Angular Application with Angular CLI
Section 3: Getting Hands on With Angular
Lecture 7 Step 05 – Importing Angular App into Visual Studio Code
Lecture 8 ng lint is deprecated
Lecture 9 Step 06 – Exploring Angular CLI Commands – test, lint, e2e, serve, build
Lecture 10 Step 07 – Exploring Angular CLI Project Structure
Lecture 11 Step 08 – Introduction to Angular Components – Basics
Lecture 12 Step 09 – Introduction to Angular Components – Playing with AppComponent
Lecture 13 Step 10 – Generating Welcome Component with ng generate
Lecture 15 Step 12 – Generating and Setting up Login Component
Lecture 16 Step 13 – Understanding Event Binding – Adding click event on Login Page
Lecture 17 Step 14 – Using ngModel with 2 Way Data Binding in Login Page
Lecture 18 Step 15 – Quick Review of Data Binding Approaches
Lecture 19 Step 16 – Adding Hardcoded Authentication to Logic Component – ngIf directive
Lecture 20 Step 17 – Implementing Routes for Login, Welcome and Error Components
Lecture 21 Step 18 – Implementing Routing from Login to Welcome Component
Lecture 22 Step 19 – Adding Route Parameter for Welcome Component
Lecture 23 Step 20 – Create List Todos Component with ng generate
Lecture 24 Step 21 – Create a Link to Todos in Welcome Component
Lecture 25 Step 22 – Best Practice – Create a Todo Class
Lecture 26 Step 23 – Quick Introduction to Angular Modules
Lecture 27 Step 24 – Understanding Bootstrapping of Angular App with Root Module and Compon
Lecture 28 Step 25 – Quick Review – Angular Modules and Components
Lecture 29 Step 26 – Overview of Next Few Steps – Bootstrap, Menu, Footer and Refactoring
Lecture 30 Step 27 – Adding Bootstrap Framework and Creating Components for Menu and Footer
Lecture 31 Step 28 – Using Bootstrap to Create a Menu with Navigation Links
Lecture 32 Step 29 – Styling Footer and Other Components with CSS and Bootstrap
Lecture 33 Step 30 – Good Practice – Use RouterLink instead of href for Routes
Lecture 34 Step 31 – Creating an Independent Authentication Service Component
Lecture 35 Step 32 – Using Session Storage to Store User Authentication Token
Lecture 36 Course Update: hardcodedAuthenticationService
Lecture 37 Step 33 – Enabling Menu Links Based on User Authentication Token
Lecture 38 Step 34 – Implementing Logout to remove User Authentication Token
Lecture 41 Step 37 – Quick Review – Authentication Service, Dependency Injection and Route
Section 4: Introduction to Web Services and REST
Lecture 42 Step 41 – What is a Web Service?
Lecture 43 Step 42 – Important How Questions related to Web Services
Lecture 44 Step 43 – Web Services – Key Terminology
Lecture 45 Step 44 – Introduction to RESTful Web Services
Section 5: Getting Up and Running with REST and Spring Boot
Lecture 46 Fastest Approach to Solve Your Exceptions
Lecture 47 DO NOT SKIP: New to Spring Boot?
Lecture 48 Step 45 – Initializing a RESTful Services Project with Spring Boot
Lecture 49 Step 46 – Creating a Hello World Service
Lecture 50 Step 47 – Enhancing the Hello World Service to return a Bean
Lecture 51 Step 48 – Quick Review of Spring Boot Auto Configuration and Dispatcher Servlet
Section 6: Connecting Angular Frontend to Spring Boot Restful Services
Lecture 53 Step 50 – Connecting Angular Frontend with Restful API – 1 – Creating Data Servi
Lecture 54 Step 51 – Connecting Angular Frontend with Restful API – 2 – HttpClientModule an
Lecture 55 Step 52 – Connecting Angular Frontend with Restful API – 3 – Understanding Obser
Lecture 56 Step 53 – Connecting Angular Frontend with Restful API – 4 – Understanding Subsc
Lecture 57 Step 54 – Connecting Angular Frontend with Restful API – 5 – Handling Error Resp
Lecture 59 Step 56 – Designing RESTful Services for Todo Resource
Lecture 60 Step 57 – Creating REST API for retrieving Todo List
Lecture 61 Step 58 – Connecting Angular Frontend with Todo List RESTful Service
Lecture 62 Step 59 – Creating REST API to delete a Todo – 1 – Create DELETE Request Method
Lecture 63 Step 59 – Creating REST API to delete a Todo – 2 – Execute DELETE Request Method
Lecture 64 Step 60 – Adding Delete Todo Feature to Angular Frontend
Lecture 65 Step 61 – Creating Todo Component and Handle Routing
Lecture 66 Step 62 – Designing Todo Page with Bootstrap Framework
Lecture 67 Step 63 – Creating Retrieve Tod0 Service and Connect Angular Frontend
Lecture 68 Step 64 – Improve Todo Page Appearance
Lecture 69 Step 65 – Creating REST API for Updating Todo – PUT Request Method
Lecture 70 Step 66 – 1 – Creating REST API for Creating a Todo – POST Request Method
Lecture 71 Step 66 – 2 – RESTful Web Services – Best Practices
Lecture 72 Step 67 – Implementing Update Todo Feature in Angular Frontend
Lecture 73 Step 68 – Implementing New Todo Feature in Angular Frontend
Lecture 74 Step 69 – Improving Todo Form – Validation and Form Submit on Enter – ngSubmit
Lecture 75 Step 70 – Enhancing Validation Messages on Todo Page
Section 7: Implementing Basic Authentication with Spring Boot and Spring Security
Lecture 76 Step 71 – Overview of Security with Basic Auth and JWT
Lecture 77 Step 72 – Setting up Spring Security
Lecture 78 Step 73 – Configure standard userid and password
Lecture 79 Step 74 – Enhancing Angular Welcome Data Service to use Basic Auth
Lecture 80 Solving Your Problems with Basic Authentication
Lecture 81 Step 75 – Configure Spring Security to disable CSRF and enable OPTION Requests
Lecture 82 Step 76 – Creating Angular HttpInterceptor to add Basic Auth Header
Lecture 83 Step 77 – Configure HttpInterceptor as Provider in App Module
Lecture 84 Step 78 – Create Basic Authentication RESTful Service in Spring Boot
Lecture 85 Step 79 – Create Angular Basic Authentication Service
Lecture 88 Step 82 – Refactoring Angular Basic Authentication Service
Lecture 89 Step 83 – Refactoring HttpInterceptor to use Basic Authentication Token
Lecture 90 Step 84 – Best Practice – Use Constants for URLs and Tokens
Section 8: Connecting Spring Security and Spring Boot with JWT Framework
Lecture 91 Step 85 – Introduction to JWT
Lecture 92 Step 86 – Importing JWT Framework into Eclipse
Lecture 93 Step 87 – Quick Tip – Resolving JWT Compilation Errors
Lecture 94 Step 88 – Executing JWT Resources – Get Token and Refresh Token
Lecture 95 Step 89 – Understanding JWT Spring Security Framework Setup
Lecture 96 Step 90 – Creating a New User with Encoded Password
Lecture 97 Solving Your Problems with JWT Authentication
Lecture 98 Step 91 – Using JWT Token in Angular Frontend
Section 9: Connecting Spring Boot RESTful API With JPA and Hibernate
Lecture 99 DO NOT SKIP: New to Hibernate?
Lecture 100 COURSE UPDATE : H2 Database URL
Lecture 101 Step 92 – Setting up Todo Entity and Populating Data
Lecture 102 Step 93 – Connecting GET REST APIs to JPA Repository
Lecture 103 Step 94 – Connecting POST, PUT and DELETE REST APIs to JPA Repository
Section 10: Thank You!
Lecture 104 Step 999 – Full Stack Application with Angular and Spring Boot – Conclusion
Lecture 105 Bonus Lecture
Section 11: Appendix – Introduction to Spring Boot in 10 Steps
Lecture 107 Step 02 – Setting up New Spring Boot Project with Spring Initializr
Lecture 108 Step 03 – Build a Hello World API with Spring Boot
Lecture 109 Step 04 – Build a Hello World API with Spring Boot
Lecture 110 Step 05 – Understanding the Goal of Spring Boot
Lecture 112 Step 07 – Understanding Spring Boot Magic – Auto Configuration
Lecture 113 Step 08 – Understanding Spring Boot Magic – Embedded Servers
Lecture 114 Step 09 – Exploring Spring Boot Actuator
Lecture 115 Step 10 – Get Production Ready with Spring Boot – 2 – ConfigurationProperties
Lecture 116 Step 11 – Get Production Ready with Spring Boot – 3 – Embedded Servers
Lecture 117 Step 12 – Get Production Ready with Spring Boot – 4 – Actuator
Lecture 118 Step 13 – Understanding Spring Boot vs Spring vs Spring MVC
Section 12: Appendix – Introduction to JPA and Hibernate in 12 Steps
Lecture 121 Step 02 – Setting up New Spring Boot Project for JPA and Hibernate
Lecture 122 Step 03 – Launching up H2 Console and Creating Course Table in H2
Lecture 124 Step 05 – Inserting Hardcoded Data using Spring JDBC
Lecture 125 Step 06 – Inserting and Deleting Data using Spring JDBC
Lecture 126 Step 07 – Querying Data using Spring JDBC
Lecture 128 Step 09 – Exploring the Magic of JPA
Lecture 130 Step 11 – Exploring features of Spring Data JPA
Lecture 131 Step 12 – Understanding difference between Hibernate and JPA
RapidGator
https://www.keeplinks.org/p27/68ecd9bd88574
NitroFlare
https://www.keeplinks.org/p27/68ecdc8caf664
DDownload
https://www.keeplinks.org/p27/68ecde5e83031