

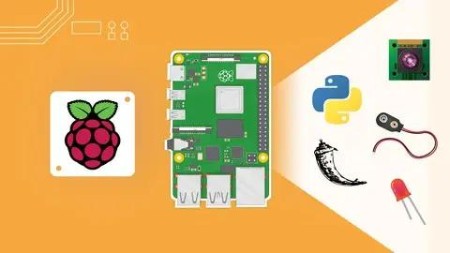
Raspberry Pi For Beginners – 2022 Complete Course
Last updated 7/2022
MP4 | Video: h264, 1280×720 | Audio: AAC, 44.1 KHz
Build Amazing Projects with Raspberry Pi 4, using Python 3, GPIOs, Flask, the Raspberry Pi Camera, and More
What you’ll learn
Build a complete surveillance and alarm project with Raspberry Pi
Learn Python3 from zero, step by step
Install the latest version of Raspberry Pi OS on your Raspberry Pi 4 (also works on 2 and 3)
Use the Raspberry Pi’s GPIOs to control hardware components
Create a web server on your Raspberry Pi
Send emails from your Raspberry Pi
Learn how to use the terminal to get more control over your Pi
Take pictures and videos with the Raspberry Pi camera V2
Learn how to be more independent when working on your future projects
Get more practice with hands-on lessons, 11 activities and a final project
Requirements
A computer + a Raspberry Pi 4 (also works with Raspberry 2 and 3)
NO external monitor or keyboard required.
NO programming, Unix, or hardware experience required.
A will to learn and to progress with the Raspberry Pi
Description
Overview
Section 1: Introduction
Lecture 1 Welcome!
Lecture 2 What is Raspberry Pi and What Can You Do With it?
Lecture 3 List of Materials for this Course – and Recommendations
Lecture 4 How to get the most out of this course
Section 2: Install Raspberry Pi OS Without any External Monitor or Keyboard
Lecture 5 Intro
Lecture 6 Flash the Raspberry Pi OS with SSH and Wi-Fi Setup, on your micro SD card
Lecture 7 Boot your Raspberry Pi For the First Time
Lecture 8 Find the Raspberry Pi’s IP address
Lecture 9 Connect to Your Pi using SSH
Lecture 10 Setup VNC to Get a Remote Access to your Raspberry Pi OS Desktop
Lecture 12 Extra – not needed for first install: if you have to change Wi-Fi in the SD card
Lecture 13 Intro
Lecture 14 Your first Python program – Discover the Thonny IDE
Lecture 17 Functions
Lecture 19 Activity 01 – Create a Function to Concatenate 2 Uppercase Strings
Lecture 20 Activity 01 – Solution
Section 4: Program with Python3 – Conditions, Loops, Lists
Lecture 21 Conditions
Lecture 22 Conditions operators
Lecture 23 Activity 02 – Validate User Input
Lecture 24 Activity 02 – Solution
Lecture 25 Loops
Lecture 26 Lists
Lecture 27 Activity 03 – Compute Max Value Inside a List
Lecture 28 Activity 03 – Solution
Lecture 29 Python modules
Lecture 30 Program with Python3 – Section Conclusion
Section 5: Build Your First Raspberry Pi Circuit
Lecture 31 Intro
Lecture 32 Warning – PLEASE WATCH – How to Safely Manipulate Your Board
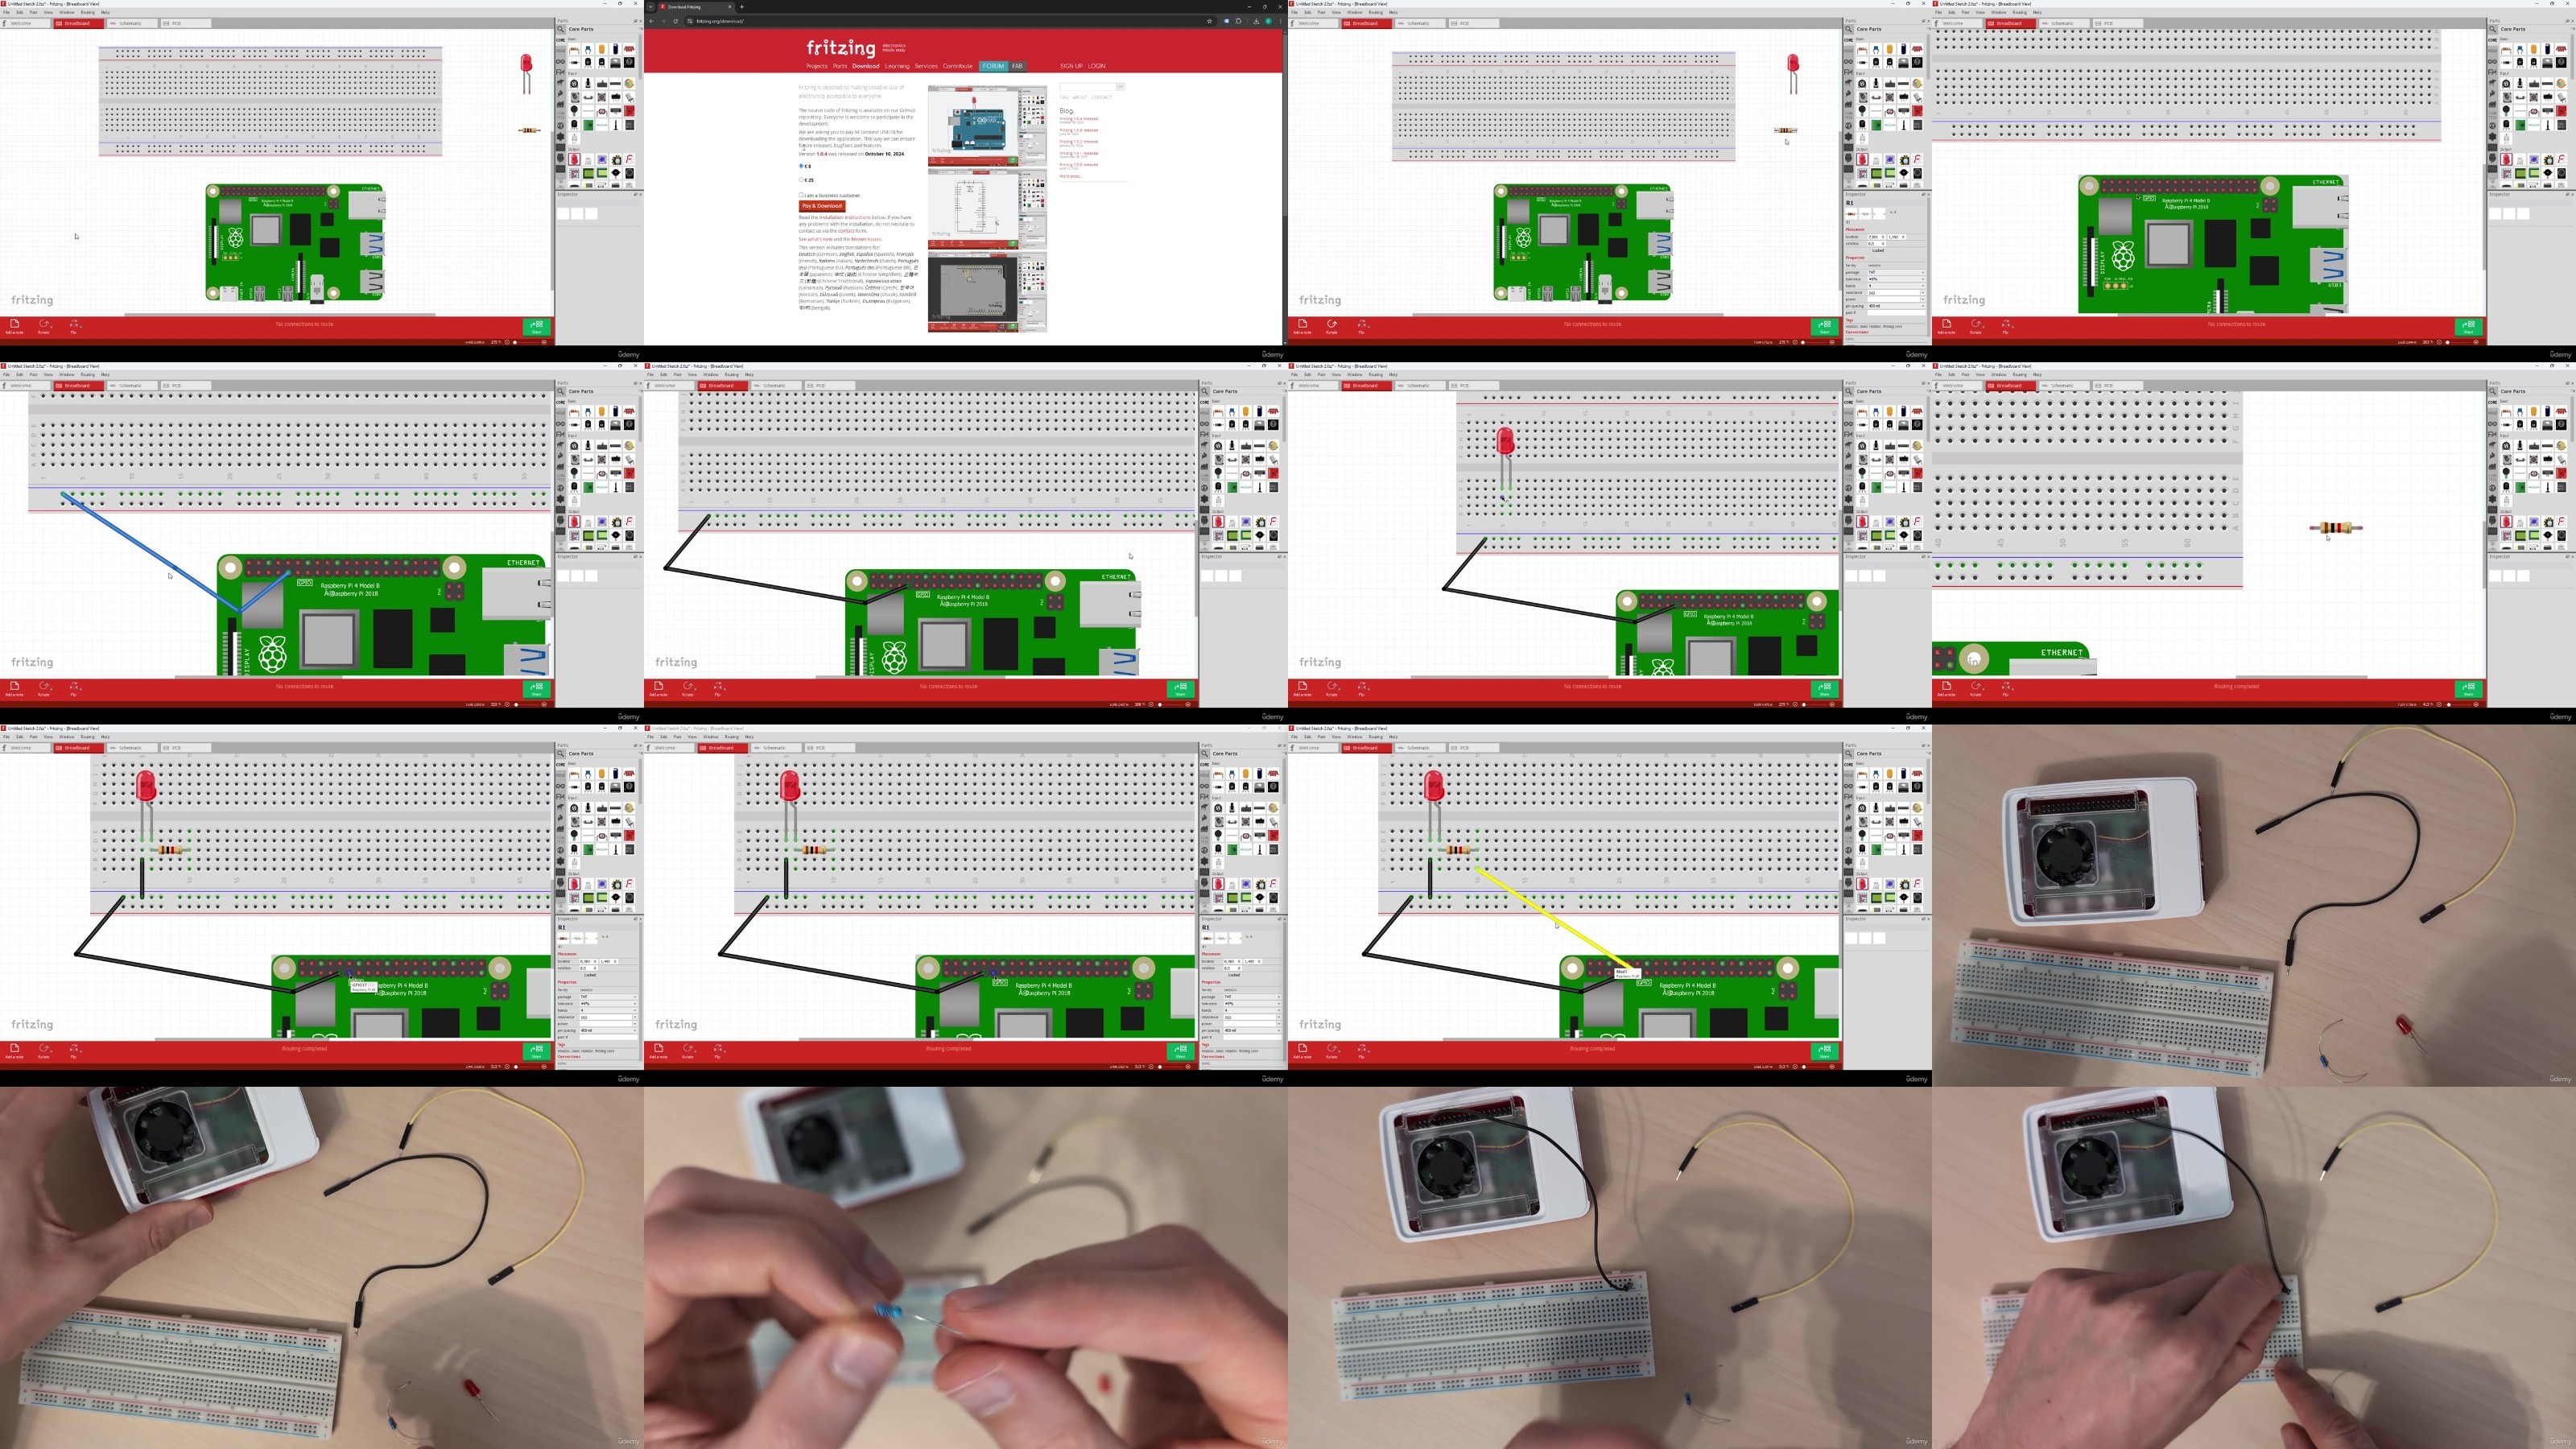
Lecture 33 Understand How a Breadboad Works
Lecture 34 The Resistors Color Code
Lecture 35 Build Your First Circuit – 1 LED and 1 resistor
Section 6: Control Raspberry Pi’s GPIOs with Python
Lecture 36 How GPIOs Work
Lecture 37 Create a Python Program to Make an LED Blink
Lecture 38 Activity 04 – Set the LED’s State From User Input
Lecture 39 Activity 04 – Solution
Lecture 40 Add a Push Button to Your Circuit
Lecture 41 Detect When a Button is Pressed with Python
Section 7: Practice More with GPIOs
Lecture 42 Activity 05: Power ON the LED When the Button is Pressed
Lecture 43 Activity 05 – Solution
Lecture 44 Add 2 More LEDs to Your Circuit
Lecture 45 Activity 06 – Change the Powered on LED When Pressing the Button
Lecture 46 Activity 06 – Solution
Lecture 47 Activity 07 – Optimize Your Code with Lists and Functions
Lecture 48 Activity 07 – Solution
Section 8: Detect Movement with a PIR Sensor
Lecture 49 Intro
Lecture 50 Tune the PIR sensor
Lecture 51 Add the PIR Sensor to Your Circuit
Lecture 52 Read the PIR’s Data with Python
Lecture 53 Activity 08 – Power on an LED when Motion is Detected – Your First Alarm System
Lecture 54 Activity 08 – Solution
Section 9: Use the Terminal on Your Raspberry Pi
Lecture 55 Intro
Lecture 56 Navigation and File System
Lecture 57 Edit Files From the Terminal with Nano
Lecture 58 Create, Remove, and Manipulate Files
Lecture 59 Install & Update Software
Lecture 60 A Few More Terminal Commands to Gain More Control Over Your Raspberry Pi
Section 10: Python3 and the Terminal
Lecture 61 Install Python Modules
Lecture 62 Work with Python from the Terminal
Lecture 63 Read, Write, and Manipulate Files with Python
Lecture 64 Activity 09 – Create a new Python Script From the Terminal
Lecture 65 Activity 09 – Solution
Section 11: Send an Email From Your Raspberry Pi
Lecture 66 Intro
Lecture 67 Create a new Gmail Account
Lecture 68 Install a new Python Module: yagmail
Lecture 69 Get the Password in Your Python Program
Lecture 70 Send Your First Email From the Raspberry Pi
Lecture 71 Add an Attachment to Your Email
Section 12: Add Vision to Your Applications with the Raspberry Pi Camera V2 Module
Lecture 72 Intro
Lecture 73 Plug the Camera to Your Raspberry Pi
Lecture 74 Enable the Camera (Bullseye OS)
Lecture 75 Enable the Camera (Buster OS)
Lecture 76 Take a Photo From the Terminal (raspistill)
Lecture 77 Record a video From the Terminal (raspivid)
Lecture 78 Take a Photo with Python
Lecture 79 Record a Video with Python
Lecture 80 Activity 10 – Take a Series of Pictures
Lecture 81 Activity 10 – Solution
Section 13: Create a Web Application on Your Raspberry Pi with Flask and Python
Lecture 82 Intro
Lecture 83 Write Your First Web Server
Lecture 84 Add a new URL and Connect Flask with GPIOs
Lecture 85 Activity 11 – Choose Which LED to Power on From Your a Web Browser
Lecture 86 Activity 11 – Solution
Section 14: Final Project
Lecture 87 Intro – Project Overview
Lecture 88 Project – Step 1
Lecture 89 Project – Step 2
Lecture 90 Project – Step 3
Lecture 91 Project – Step 4
Lecture 92 Project – Step 5
Lecture 93 Project – Step 6
Lecture 94 Project – Step 7
Lecture 95 Project Conclusion – Going Further
Section 15: Conclusion
Lecture 96 What You’ve Learned
Lecture 97 What to do next
Lecture 98 Bonus Lecture
DDownload
https://www.keeplinks.org/p27/688a7c5b5e3ef
RapidGator
https://www.keeplinks.org/p27/688a7cd97367d
NitroFlare
https://www.keeplinks.org/p27/688a7dc4b95ae